
Peter Pan Collar
Peter Pan Collar

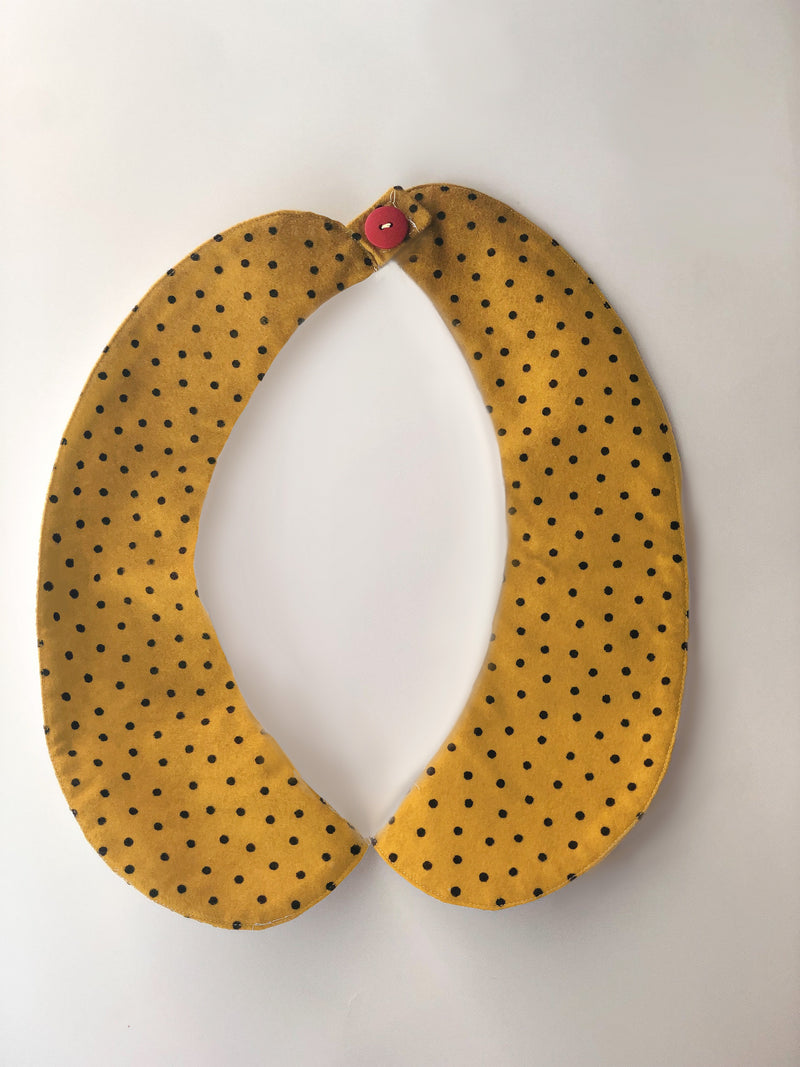
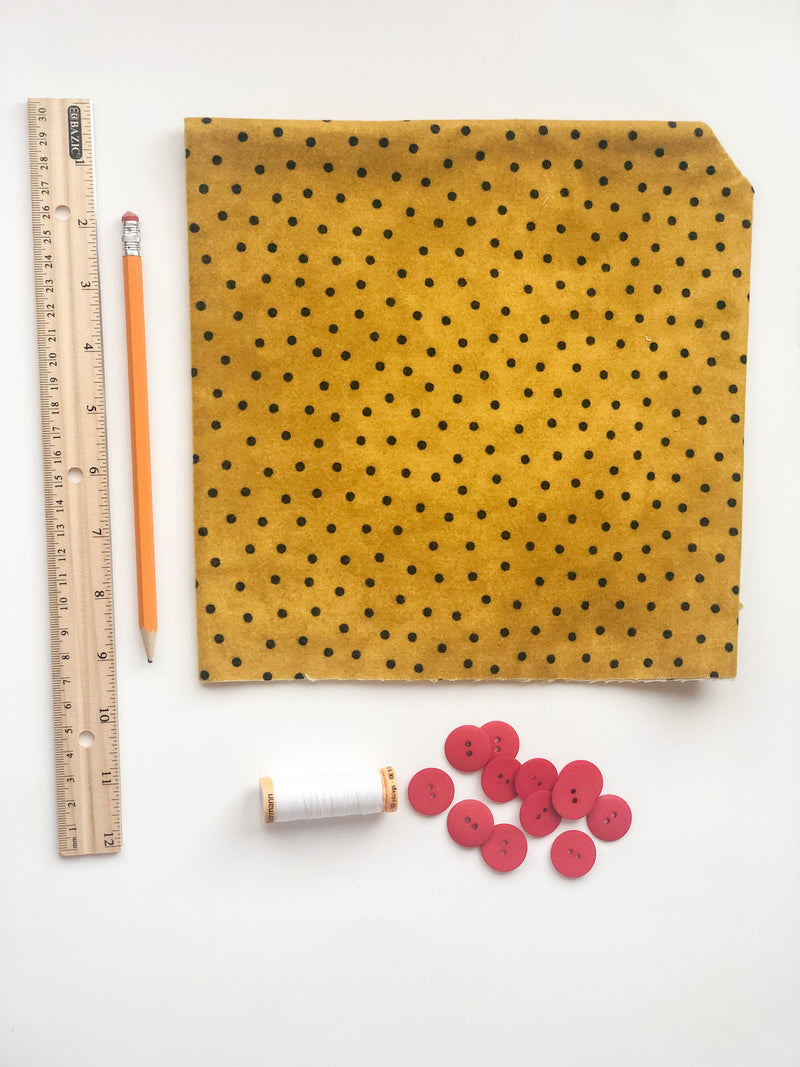


This peter pan collar can give any un-collared blouse a beautiful neckline. There’s a reason why this classic and pretty shape has survived fashion era after fashion era, and never fails to give a piece of clothing that pretty, yet elegant look. In addition to the kit materials, you will need: a scissors, pins, iron, and cardstock or kraft paper. Let’s get started!
Step-by-Step Instructions
1. Measure a neckline on one of your favorite tops. Fold your top in half and try to keep the natural shape of the curve in place.
2. To make your collar pattern, trace the curve between center front to center back on the kraft paper.
3. Sketch your collar shape on each end of the curve as desired.
4. Trace around the entire collar, ½ inch away on all sides to account for seam allowance.

5. Cut your pattern out and use it to cut 4 collar pieces out of your fabric.

6. Right sides together, stitch two collar pieces together along the outer curve (inner curve will remain open). Trim seam allowance to ⅛ in. Repeat with the remaining two collar pieces.
7. Turn the collar right side out and press flat. Topstitch along the outer curve ¼ inch away from the edge. Repeat with the other collar piece.
8. Serge the inner curve, removing NO fabric with the serger blade, or zig zag stitch along the inner curve. Repeat with the other collar piece.
9. Cut 2 pieces of fabric 1 ½” x 2”.
10. Sew right sides together around 3 sides leaving one short side open for turning.
11. Turn inside out and press with iron.
12. Add to only one collar section. Place the tab between the collar pieces when stitching collar pieces together.
13. To make the button closure, fold the tab in half and make a small cut (approximately ½ inch). Use the scissors to make a slot large enough for the button to slide through.
14. Sew a button to the end of the collar opposite the tab to finish the button closure.
15. To finish, stitch along the seam line and neck edge. Zigzag or serge raw edges. Carefully pin the curve so it will lay flat when the seam is turned in. Lay the collar pieces together and stitch together with a rectangle, then topstitch the entire neckline edge.
