
Reversible Smock with Pockets
Reversible Smock with Pockets


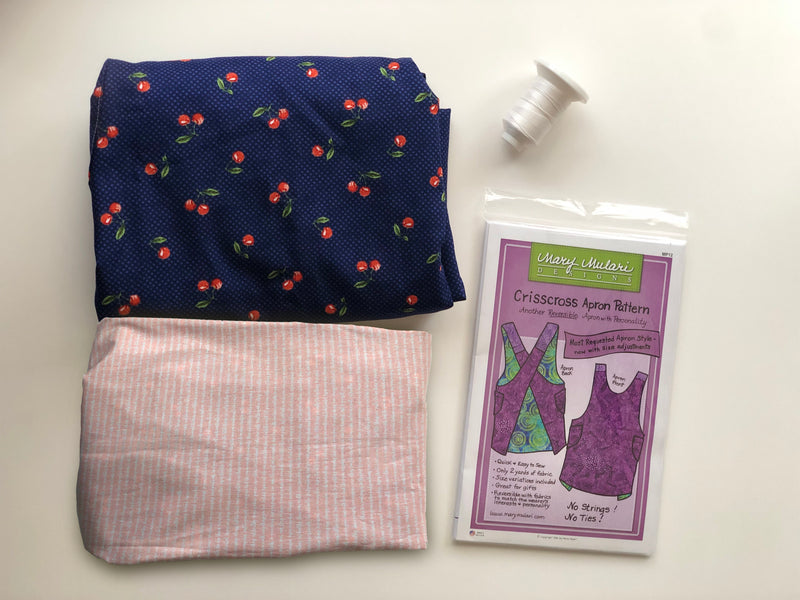
This beautiful double-sided smock is perfect for those in your life that love their time spent working in the kitchen. With roomy pockets and unique patterns, this smock makes a great gift — whether you gift it to someone in your life or keep it as a gift for yourself. In addition to the kit materials, you will need a few household items: scissors, sewing pins, iron, and a sewing machine or needle & thread. Let’s get started!
Step-by-Step Instructions
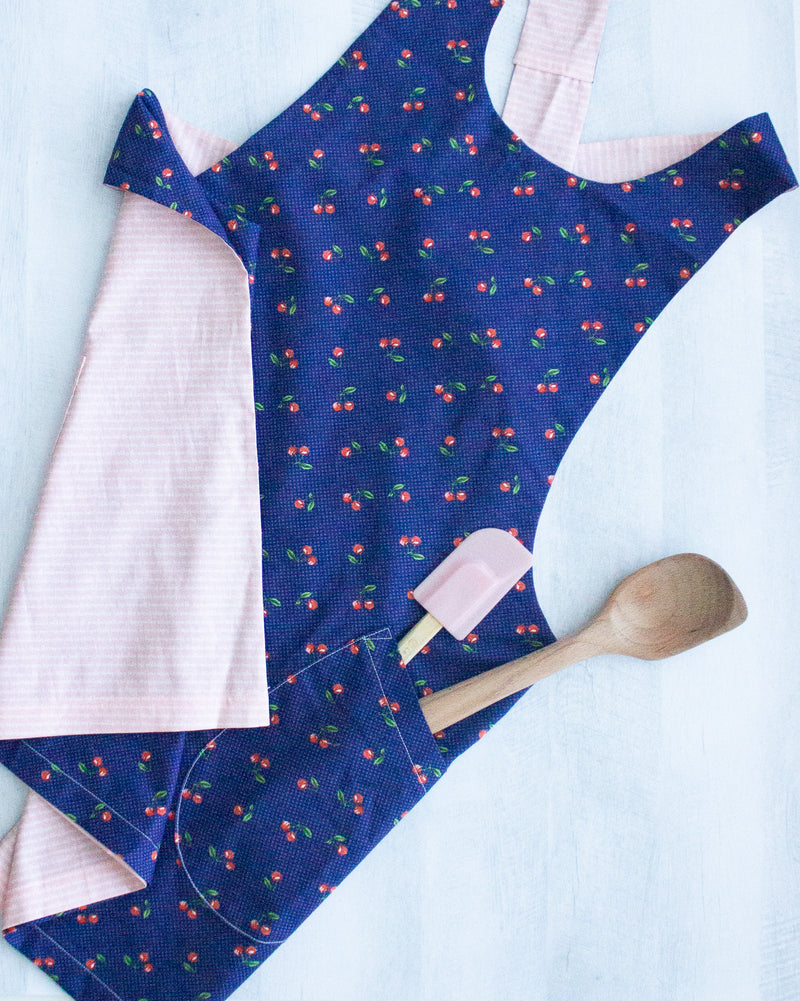
1. Use the pattern layout to cut aprons, pockets, and bands from the two fabrics layered together. Mark the pocket corner placements on both aprons. Zigzag or serge the straight bottom edge of each apron.
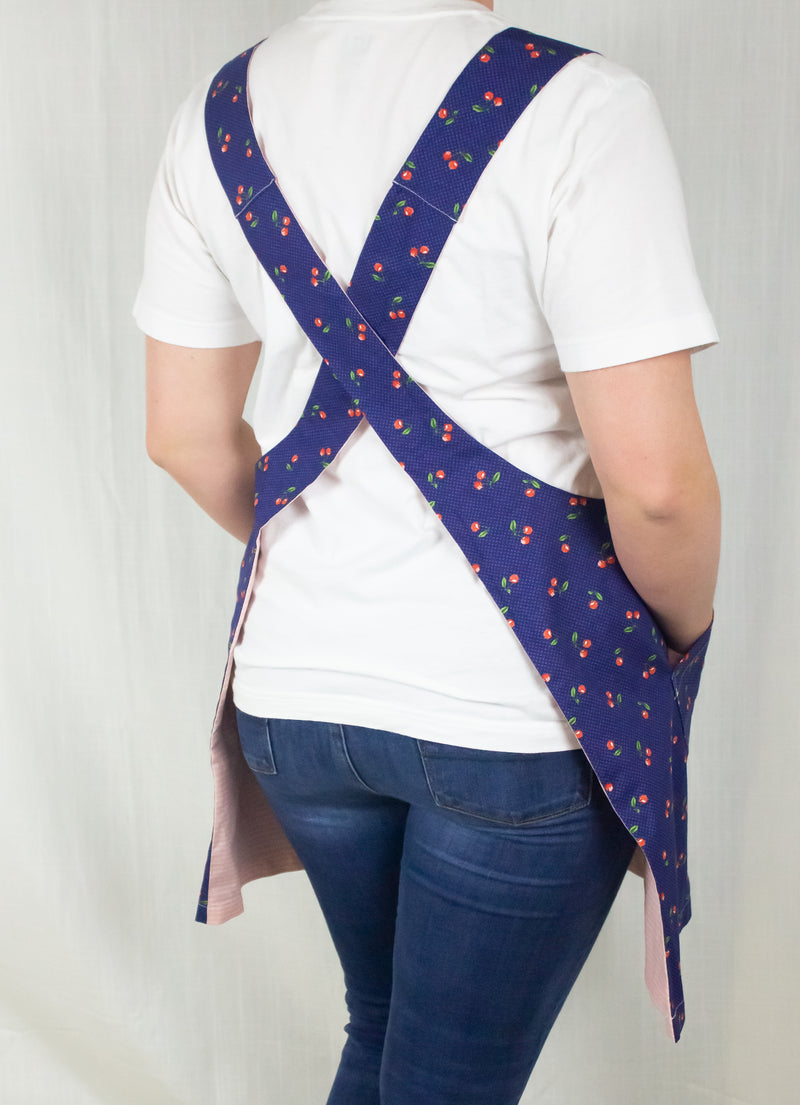
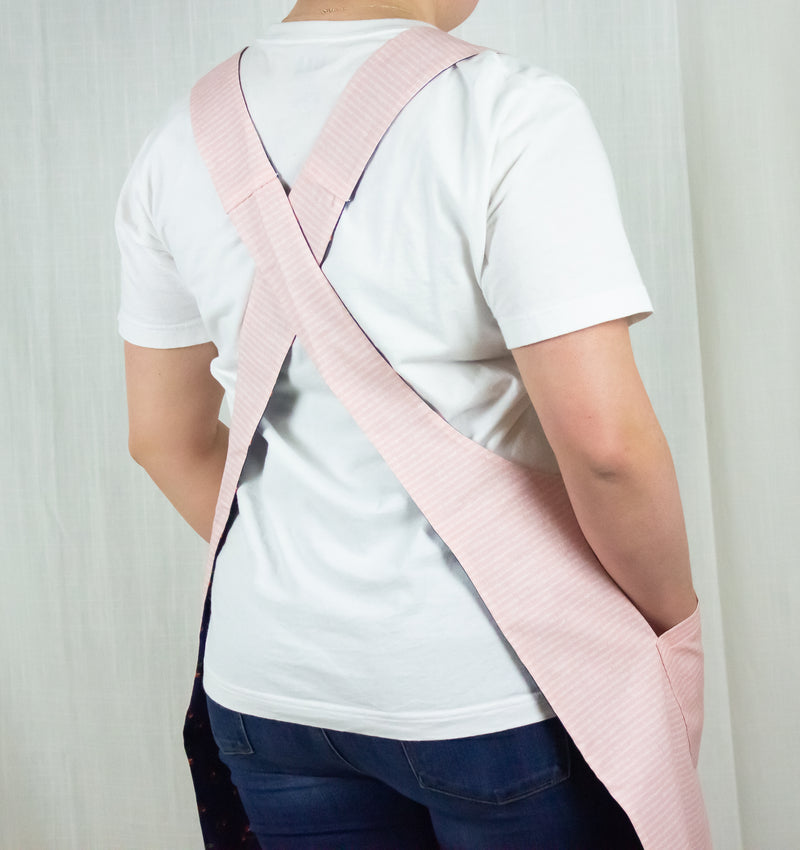
2. Use one apron layer and its bands to test the apron size and fit. Pin the bands to top and back apron ends, crossing bands in the back. Try on to check fit and pocket placements.
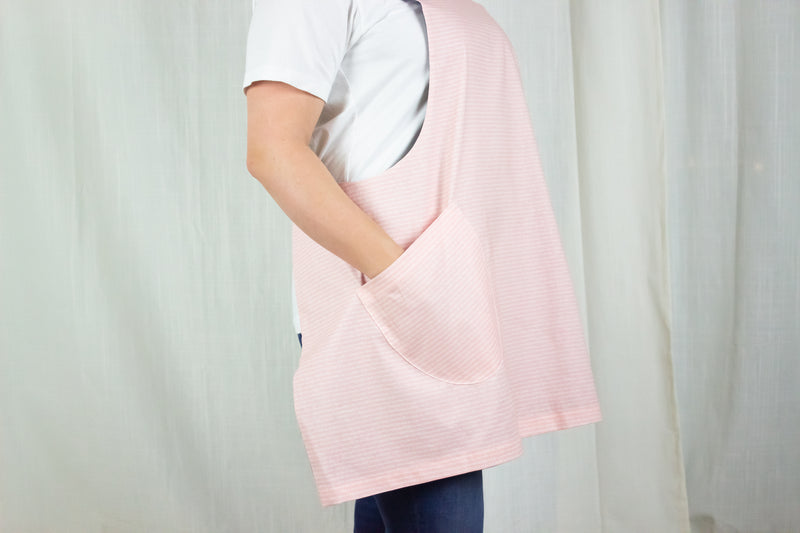
3. Using the pattern template, cut out 2 pockets. Zigzag or serge pocket top edges. Turn under ¼” and use an iron without steam to press pocket side edges. Turn under 1” and press pocket top edges. Sew across hem edge. Position, pin and sew pockets to each apron.
4. With right sides of fabric together, pin and sew one end of the bands to the center top ends of each apron. Press the seams open.
5. Pin one apron body over the other, meeting fabric right sides. Sew the edges together leaving the band ends and bottom edges open. Trim stitched seam allowances with scissors. Press all edges flat before turning apron right side out.
6. Press all apron edges and turn inside ¼” of the ends of the two longer center bands. Insert and pin the back band ends ½” inside the pressed under ends of the center bands on the opposite side of the apron. Try the apron on to test the fit. You may prefer to shorten the back bands or insert more than ½” in the center bands.
7. Connect the bands by topstitching across the folded under the ends of the center bands.
8. Turn under, press, and pin the hem edges ½” or a hem width of your choice. Sew to hold hems in place.
9. For neat and stable apron edges, topstitch ¼” around the sides, bands and front.
10. Leave the bottom edges open to carry garden produce, eggs, laundry or weeds. Lift hem edges at starred points to form a handy carrying device. To wear this apron, slide head between crossed bands and arms through side openings.
- Fiber Content: Cotton
- Care: Machine wash cold. Dry on low.


Reversible Smock with Pockets
- Fiber Content: Cotton
- Care: Machine wash cold. Dry on low.